Sentiments with impact
Since starting last November with the Altenew Educator Certification Program, I have made 42 cards, four pieces of home decor and one tag using supplies from Altenew. I’ve enjoyed this journey and every class I took through Altenew Academy. I am currently working my way through Level 3 Certification and this last class for the Altenew Educator Program was Sentiments with Impact. I looked forward to this class as cards need sentiments and having the right thing to say or the right way to say it sometimes gets lost behind the technique or the main image on the card. The instructor focused on using sentiments in different ways to make them the main focus on a card. I was intrigued by stacking sentiments and using different stamps that say the same thing to provide impact to the message. For today’s card I used small sentiments from four different Altenew stamp sets to create a background. Please continue reading to learn how I put together this card. For your convenience the materials I used are listed at the bottom of this post. Affiliate links are used at no cost to you. If you decide to purchase through these links I may receive a small commission thank you for your support.
Building the background
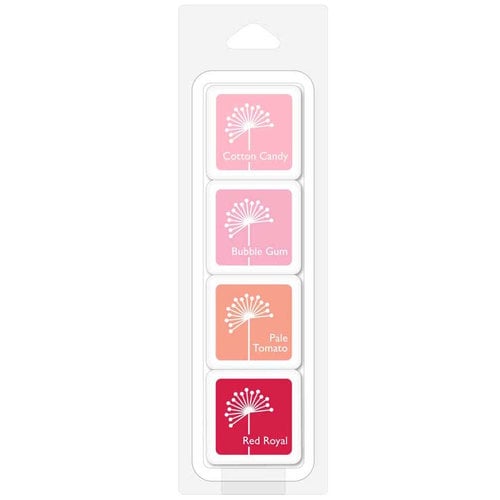
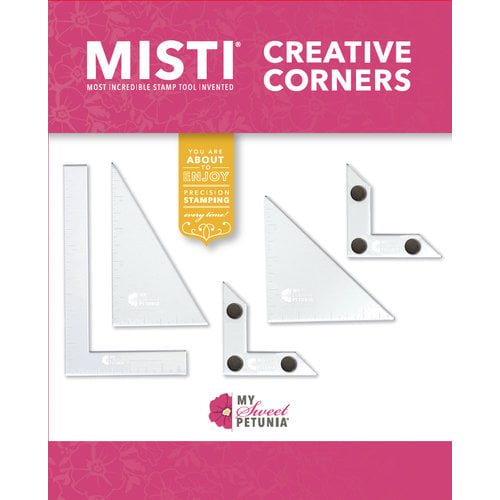
To put together this background, I used a MISTI stamp positioner to make sure the sentiments were lined up as straight as possible. All stamping was done on a piece of Neenah solar white 80 lb cardstock cut to 4 1/4 x 5 1/2“. The Altenew stamp sets I used are: Leaf Canopy, Adore You, Wonderland and Needlework Motif. I always need thank you cards so I chose sentiments that reflected thanks. I chose those sentiments from the sets that were smaller and typed and started to line them up on the paper to see what order they should go. I decided I would stamp each sentiment separately to avoid having to mask. Typically it is easier to move the paper versus a stamp but since all these sentiments are so narrow, I just moved the sentiments. I used the MISTI creative corners and specifically the L ruler to help make sure the sentiments were lined up. I wanted to have the sentiments go in rainbow order so the inks I used were: Catherine Pooler Rockin Red, Hero Arts Pale Tomato, Catherine Pooler Tutti Frutti, Catherine Pooler Tiara, Catherine Pooler Melon Ice, Catherine Pooler Grass Skirt, Hero Arts Tide Pool, Hero Arts Cornflower, Momento Bahama Blue, Hero Arts Navy, Catherine Pooler Fuchsia and Hero Arts Grape Juice. As I stamped each sentiment those sentiments that didn’t fit across the entire line I repositioned to either side of the first stamp sentiment and re-stamped them again so it looks like the line continues all the way across the paper. Because I had to keep moving my stamps I did end up with some non-perfect stamping but I felt that it added to the genuine sentiment and heartfelt sentiment to the card.
The main sentiment
The main sentiment came from the Concord and 9th bitty thank you die but I wanted to really make it stand out. I decided to die cut a heart from the top third of the background panel and use that piece that was cut out to be recessed below the main sentiment. This also gave me an opportunity to make a shaker and give a fun element and a surprise element to the card. I have a more detailed description of how I make a shaker card in this post here. I glued the background heart to a piece of 4 1/8 x5 1/4" black cardstock so it would be the background of the shaker. To make the window, I adhered a piece of Hero Arts Acetate to the background piece. I then adhered black fun foam to be the shaker base and added in whatever sequins I had in my stash.
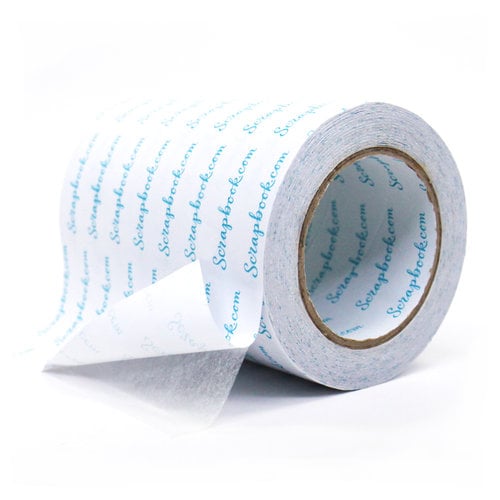
I really wanted to make that thank you stand out so I decided to use silk micro fine glitter from Elizabeth crafts. This glitter is very very fine and when it’s burnished onto a paper or tape it gets very, very shiny. To keep with the rainbow aspect of the background I wanted to do a rainbow thank you. On a piece of scrap paper I laid down a 2 1/2 inch wide swath of double-sided tape. I then pulled the tape back about half an inch and added True Red glitter and then burnished it with the back of my bone folder. After clearing the excess True Red glitter from the panel I removed another half an inch of tape backer and applied the second color, Copper Rose, and burnished that. I continued in this manner until all of the colors were applied and I had a piece of 2 1/2 inch glitter paper that was rainbow. The rest of the colors that I used were: Solar Gold, Spring Peridot, Bluebell and Lavender. I then ran the glitter panel with the thank you die through my Cuttlebug machine. I then die cut that thank you two more times from scrap card stock and glued the three layers together. I adhered the thank you onto the front of the card using Gina K connect glue.
Final card
Although this is my final card for level three of the Altenew Educator Program, it is not my final card using Altenew products. My favorite products they make are their layering floral stamp sets. I’m also really enjoying the watercolor brush markers and plan on giving a class at the end of the month featuring these products. Thank you for joining me on this journey. Let me know in the comments below which card I made for the AECP program has been your favorite. Have a wonderful and crafty day.
For your convenience, supplies are listed below. Affiliate links are used at no cost to you. Thank you for your support.
Erum Tasneem
3/13/2019 06:59:21 am
This is LOVE! Loving all the rainbow glittered sentiment!
Amy/Sevenscrafts
3/14/2019 07:30:54 pm
Hi Erum. Thank you for checking out my post. Glitter is awesome as are you! Comments are closed.
|
AuthorWelcome to Seven's Crafts and thank you for stopping by. I am a mom, teacher and avid paper crafter. I hope these posts will leave you feeling inspired and ready to do some crafting. Archives
November 2021
Categories
All
|









 RSS Feed